Friday, October 31, 2014

Genie Costume

A Genie costume was requested this year. I love that my ten year old comes up with these unique ideas.  Last year we put together a sock monkey costume that I still don't know where the idea originated.

I am not opposed to purchasing a costume and I did look for one. What I found was that the child costumes were likely on the small side for her and the adult ones were not really appropriate. 

After looking at more genie costume images, I decided we could just make one. 

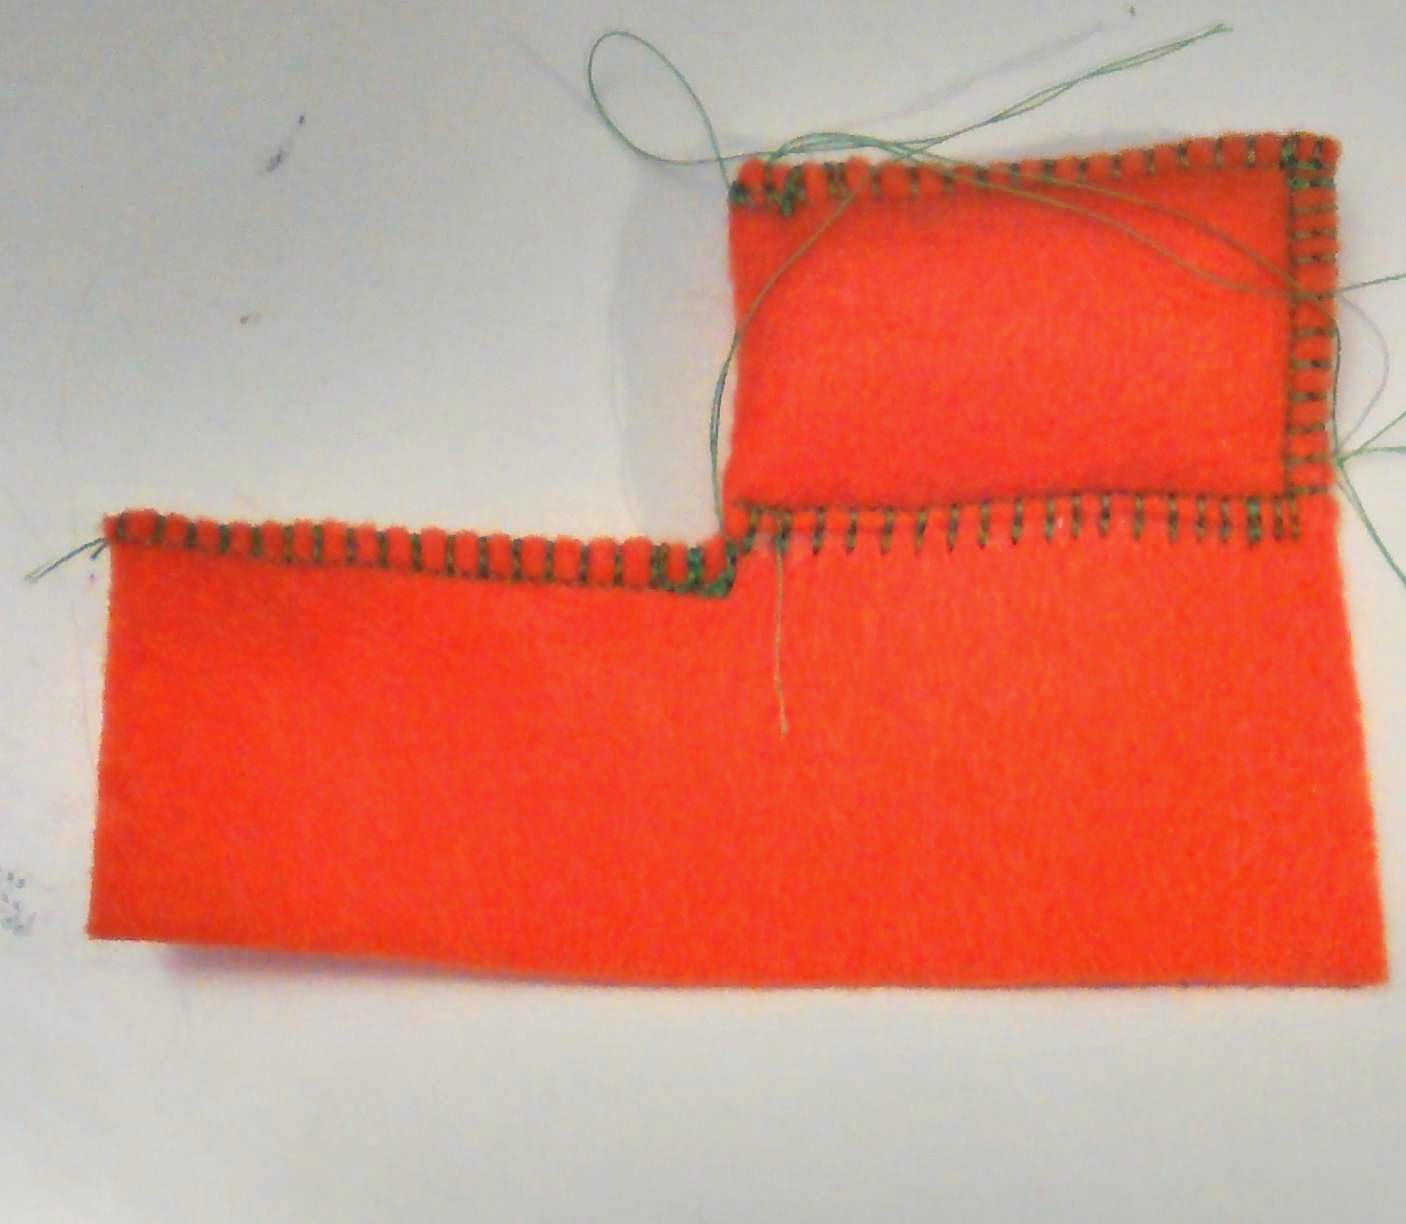
Remembering flannel lined satin existed and might be warmer alternative gave us a starting place. I figured copying some pajama pants she had would make easy bottoms. I did have her try on a pair of my pjs to get a lower crotch length and we used that as a guide too. 

The top gave me a bit of a headache. I wasn't sure how we should design it.  Finally I settled on a peasant top.  I looked at online patterns and used the pictures as a guide of what shape to cut. Then I made a top that wasn't right at all. After seeing where it needed to be bigger and contoured better, I tried again and it is acceptable. If I were to make another, I would probably alter things more and make the bottom lower. 

After we had working pants and a top, we went to JoAnn's to get some trim. There were many options to choose from. The gold circles for the top were stitched along black elastic which made it easy to add. The gold trim for the pants had no stretch, so I was more careful adding it. I sewed along the top edge of the trim with gold colored thread. I intended to sew along the bottom too, but liked the way it stood out from the pants and decided to leave it sewn to just the top. 

We did consider using some thin scarf like material to cover her midriff or around her hair, but decided against both. 

Fortunately I had ordered a nude long sleeve leotard for her the week before which arrived just in time to wear on our trick or treating around the village.

Thursday, October 30, 2014

Halloween Treats

Being able to make snacks and treats at home for preschool has been great.  I have very fond memories of my mom making special things for me in elementary school and it is sad that we can no longer provide homemade things.  But I am finding that in preschool and also the upper grades, any food is just fine.

Halloween has so much potential for great themed food.  I wanted to make sure I was providing food on the healthier side and did search around for ideas.  I found some cheese cut up using mini Halloween cookie cutters and went ahead and ordered my own set.  The preschool teacher suggested Pretzel dipped in chocolate and sprinkle "Wizard Wands" and included those as well.


Halloween Shaped Cheese

Treats, cheese, cookie cutters

Cheese and mini crackers ready for preschool snack.  I found these mini cups in the baking area designed as muffin cups.  They were perfect earlier this month filled with a couple tablespoons of vanilla yogurt for apple dipping.


 Banana Pumpkin muffins with mini chocolate chips


Pumpkin and leaf shaped melon

Shaped melon, pumpkin, leaves

Some items are for the kids for snack and some are refreshments for the preschool families who come to attend the Halloween parade.

Cutting the cheese and melon with the cookie cutters goes very quickly and was easy enough.  For the cheese, I cut long slices with a wire cheese cutter.  For the melon, I made sure to cut at an angle to yield wider slices.


Wednesday, October 29, 2014

Banana Pumpkin Muffins

Once again I sought out a pumpkin muffin recipe.  I hadn't found one worth repeating yet.  This recipe looked different because it used banana and I've always had good luck with banana.

I basically followed the recipe with a couple substitutions.  The second time I made it, I doubled the recipe and yielded 48 mini muffins (bake 11-13 mins) and 12 small regular muffins (bake 15-18 mins) at 350 degrees.

4 bananas
1 15 oz can of pumpkin
1/2 cup of applesauce/oil (almost all applesauce)
4 eggs
2 teaspoons vanilla

2 cups whole wheat flour
2 cups all purpose unbleached flour
1 cup brown sugar, packed
2 teaspoons baking powder
1 teaspoon baking soda
1 teaspoon cinnamon
1/2 teaspoon ginger
1/4 teaspoon nutmeg
1/4 teaspoon cloves

1 1/2 cup of mini chocolate chips (almost)

The first time I made these without chocolate chips and they are not very sweet and my family very much missed the chocolate chips.  The second time I added the mini chocolate chips and they are perfect.


*11/22/2020 
1 large banana
1/2 of an 15 oz can of pumpkin
1/2 cup of applesauce
1 TB of olive oil 
2 eggs
1 teaspoon vanilla

1 cup whole wheat flour
1 cups all purpose unbleached flour
1/2 cup brown sugar, packed
1 teaspoons baking powder
1/2 teaspoon baking soda
1/2 teaspoon cinnamon
1/4 teaspoon ginger
1/8 teaspoon nutmeg
1/8 teaspoon cloves

3/4 cup of mini chocolate chips, could use less, but the chips are well distributed.

Yielded 12 regular muffins.  The batter is moist, but not overly wet. The taste is more pumpkin and spices.  A nice muffin, but still not overly pumpkin.


Monday, October 27, 2014

Halloween Fabric Postcard

My Modern Quilt Guild has neat activities throughout the year.  This Halloween we were invited to participate in a fabric postcard swap with another Modern Quilt Guild.

This summer I moved my sewing room from upstairs to downstairs.  Now I share the room with a lot of existing craft and office supply stuff.  There still needs to be a fair amount of reorganization and purging.

Due to the state of my sewing area, I have not been doing much sewing.  Certainly not any large projects.  But I signed up for the postcard swap anyway.

The goal of the postcards is for it to be a quick project.  I had an idea, but it wasn't until my recipients' postcard arrived in the mail did I get started.

First I looked for the stiff interfacing.  I know I have some from the last time I made fabric postcards, but I could not find it anywhere!  Plan B was to just use three layers of somewhat stiff interfacing and hope for the best.

It all worked out fine.  I am certainly influenced by the little people in my life and went with 5 Little Pumpkins Sitting on a Gate.


Wednesday, October 22, 2014

Items for Silent Auction

LLL of New York is holding a conference next month and they are looking for items for the silent auction.  As soon as I made a babywearing bendy doll, I knew I should make another for the action. I found a child sized toy sling I had made up also.


I remembered I had some half finished felt cookies that were easy to finish up as well.


Finally I collected some hair bows for a smaller "tricky tray" part of the silent auction.


Thursday, October 16, 2014

New Hair Bows

For my daughter's preschool, we have a calendar for the month of what the theme will be each day.  Because there is still sometimes ambivalence about going, we often talk about the themes and dress accordingly if possible.  In September we had color days when we were asked to dress in primary colors, then secondary colors.  

When I saw owl day approaching, I knew were were all set with two owl shirts to choose from.  

I remembered making a little felt owl long ago as a trial for a Girl Scout Project.  My main thought at that time was how to incorporate button sewing into something fun.  I actually found one little owl I had made and it looked to be the perfect size for a hair bow.

When I was making hair bows before, I carefully sewed the layers together to form bows.  With the owl, I decided to just use hot glue.

The next day is bat day!  I found a sparkly foam bat and layered ribbons to form a bat hair bow.  

When my daughter Sydney wore the smaller style hair bows, they stayed perfectly in her hair.  Kessa had some trouble with the owl one.  Perhaps because it's bigger and heavier.  I added velvet ribbon to the alligator clips which should help keep these bows put.


More Little Dolls

The doll making has been a lot of fun.  I found some wooden peg dolls and practiced more with the embroidery floss wrapping.

Together with my four year old, we made our family out of wooden peg dolls.  Later, my husband did cut down one of the little ones to make her smaller.  I especially like the teen boy's hair.


The little girl dolls were fun to make.  I created a few for gifts as well.  They remind me of little worry dolls.  I liked these two tutorials:  Bendy Doll Tutorial and Making Bendy Dolls.


My older daughter liked them too and requested a bed for two.


A high school friend of mine just recently lost his six year old son.  Because I had "worry dolls" on the mind and also this family's tragedy, I thought I'd try a little boy doll.  He came out pretty cute.  


I ran out of the regular thickness of pipe cleaners and started using some thinner pipe cleaners. I liked them even better, especially for the smaller dolls.

Here is a sweet babywearing mama and baby doll in a ring sling.  The baby came out so cute.  I decided to leave them without faces.


The beads I purchased were completely unfinished wood.  I used an all purpose sealer to prevent bleeding.

Monday, October 13, 2014

Doll Sleeping Bag

My 5th grade daughter was collecting items representative of a book she was reading.  One item she needed was a sleeping bag.  I suggested taking some felt and rolling it up to appear like a sleeping bag.  She suggested I make a sleeping bag fit for her American Girl Doll.  My son even suggested using an old jacket to have the material be more authentic.

These kinds of projects are usually what I like to do best: fulfill a need with what's at home and make it quick.

Somehow I wasn't feeling too excited about this project.  Perhaps the fact that it was 8:00pm had something to do with it.  Also, I was considering how to make the sleeping bag and had looked at tutorials a while back with zippers.  I didn't have the right size zipper and it would be an even bigger project.

Finally my wise daughter told me to just make it like a bag without a zipper or an opening.

When we were looking through the stash, she liked the orange waterproof fabric I had from diaper making days.  I had some matching orange microfiber fabric for a lining.  And thinking of it as a bag helped a lot.

I laid out the fabric and using the doll as a guide, very carefully cut around her to make the sleeping bag.  I added a head rest and cut out lining fabric too.

It went together very quickly. I simply left a small opening in the bottom of the lining fabric and sewed the outside to the inside together with the head rest tucked inside.

I did top stitch around the top edge allowing the the inner lining to roll a bit to the outside.


Monday, October 6, 2014

Beaded Elves for Preschool

My daughter's preschool teacher thought something like her Little Friend might be a nice project for Christmastime. I felt that working with the tiny beads and tiny clothes was probably too hard for preschoolers.  I found these cute elves made out of beads and tried them out.  Having access to different sized beads and maybe even ovals would be nice for the tummy.

Another pattern I found was to use pine cones for the body and add mittens and booties.  The scarf is nice for hiding the pipe cleaner at the neck.

Adding a ribbon while putting everything together worked out well.  The yellow hat is stitched on the back and I liked the way that worked better than just hot glue.  From my other preschoolers, I know they can sew felt with guidance.


Saturday, October 4, 2014

Little Friend and Preschool

The youngest began preschool this fall and at first it was the best thing ever.  Soon it became not the best thing ever.  Then there was even crying.  I don't believe anything changed about preschool, I think the reality set in that this is a reoccurring thing mostly without mommy.

The last time we had a preschooler; pretty much the same thing happened.  I decided to make her a little friend to go along to school and keep her company.  Sydney's little friend is still kicking around, but requires a pocket.  Kessa doesn't often have pockets.

I wondered if I could make a tiny little friend and it could hang around her neck.

In my searches for the Waldorf pocket doll pattern I had used for Sydney, I found pipe cleaner dolls.  I had pipe cleaners and small beads that were head like.  Even though this little doll would be less soft and cuddly, she would not get lost.

Using the bead as a guide, I just folded together the pipe cleaner to form a small body.  Then I traced the body to make a one piece suit out of felt.  A little hat with a stripe was added to cover the head.  Finally I added a jump ring to the hat and purchased these Magic Silkies Necklace Cords.  I liked them because there was no pinchy metal near her neck and if pulled hard enough, the necklace would come undone.

The Little Friend was working pretty well.  I made sure to fill up Little Friend with love and hugs and then Little Friend would give them to Kessa as needed during school.  I also made a little bracelet for her and a picture book of all the things she likes about preschool.  The last page of the picture book has a picture of us together with the words, "Mommy always comes back."

One day we couldn't find Little Friend!  In the 15 minutes before we had to go, I quickly made a new Little Friend with just hot glue and thread on the jump ring and hoped she'd stay together until I could sew her better.

Apparently when our Little Friend is not heading to school, she needs a sleeping bag.  I used my sewing machine and some polyfil and made little sleeping bags for many Little Friends.


After our emergency, I thought I'd try another Little Friend with a suit better pattern.  Using one piece on the fold works better.  I like the tiny heart stitched onto the orange suit.  The orange Little Friend has some hair too.

 
I also purchased more "head" beads and tried out different sizes.  This led me to try wrapping the pipe cleaners with embroidery floss for the girl in yellow.