|
| Gymnast Chalk Bag |
New regulations require each gymnast to have their own personal chalk bucket. I've seen pictures of gymnasts around the country using different types of containers. Some are modeled after chalk bags used by climbers, others are just using some sort of plastic container. Ever since I heard about the possibility of gymnasts needing their own containers, I have looked around at the possiblities. Chalk bags for climbers are on the small side as they typically chalk one hand at a time. Gymnasts like to get both hands in there. I liked the idea of using fleece inside to help contain the chalk dust and nylon at the top to help keep it contained. My daughter wanted to use a plastic container she found. I created a bag which would do both, hold the container and hopefully hold the chalk as well.
Because the plastic container was about a 7.25" circle and 3.5" tall, I started with these dimensions and then cut a bit bigger.

I wanted to make a prototype first and started with an 8" by 25" rectangle and an 8" circle for the bottom (an 8" plate was perfect to trace). I used a bottom weight material for the outside. For the inside, I used a 5" wide by 25" fleece and 3.5" wide by 25" nylon and an 8" circle.


Ultimately because my daughter wanted the plastic container inside, we decided to make the walls a bit taller. If the sides were all solid, they'd be 25" long by 9" tall and an 8" circle. The inside was 5" by 25" of fleece and an 8" circle. The nylon was 4.5" by 25".
I used 3" wide of this cute gymnastics print with interfacing on the back pieced with the bottomweight blue.
 |
| the bottom |
 |
| the inside |
Sewing steps:
1. Sew short ends of 25" x 8" rectangle together, right sides together creating a tube. I used a 1/4" seam allowance and slightly widened the seam towards the top. Many chalk bags have a smaller top than the bottom.
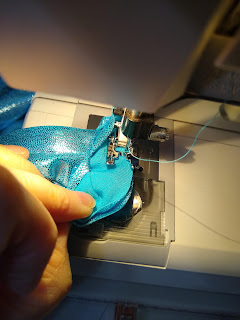
2. Sew the tube to the bottom 8" circle, right sides together, forming the outside of the bag
3. Sew nylon to fleece, on the long side, right sides together. I did serge the nylon edges to help with fraying.
4. Sew short sides, right sides together, leaving a 2" opening in the fleece part.
5. Sew nylon and fleece to fleece 8" circle. The nylon goes on top, the fleece part is sewn to the fleece circle.
6. Install grommet to outer fabric only: the smaller bag was centered about 1.5" down from top edge, the bigger bag was 2.5".
7. Sew the inside to the outside right sides together.
8. Flip outside through the small opening in the lining, then sew up small opening
9. Top stitch around top edge
10. Thread lacing or elastic cord through grommet and around the bag. Use cord lock and tie ends of lacing.