Wednesday, July 17, 2019

Quinoa Tuna Salad

After looking around for some new recipes containing quinoa, I settled on this one from Cooking Light.

I made some slight modifications and tried out the dressing which was a delightful surprise.  The Quinoa Tuna Toss is really tastey, fills you up and is healthy.  I will certainly make this again.

I will note my changes next to the ingredients below.

2 tsp of olive oil - I doubled
1 tsp of red wine vinegar - used apple cider vinegar doubled
1/2 tsp Dijon mustard - used yellow mustard doubled
1/2 tsp lemon juice - doubled
dash of salt - skipped
dash of pepper - added

1/2 cup cooked quinoa* - I made 1/2 cup uncooked which fluffs up to much more
1/2 cup canned chickpeas - I used a small 7.5 oz can of chickpeas rinsed and drained
1/4 cup cucumber - I used more, what looked right. It was about half of a seedless cucumber.
5 cherry tomatoes, halved - I used a bunch of grape tomatoes, halved to match the cucumber quarters
1 TB crumbled feta cheese - doubled
1 2.6 oz pouch of tuna - I used a 6 oz can of Yellowfin Tuna
Added 1 medium sized yellow pepper

The recipe says it is one serving, based on my modifications, it yielded 2.5 generous lunch sized servings.  Next time I will measure the total quantity before trying.

*The recipe says 1/2 cooked quinoa, but then in the directions it says to cook 1/2 cup uncooked quinoa with 3/4 cup water.  It's unclear how much they used.  I liked my proportions, though others might appreciate more dressing.

Saturday, May 25, 2019

Classroom Door Window Shade

For lockdown drills, covering the glass in the door has become a necessity.  However, the shade needs to be open most of the time.

After seeing what other people are making, I decided to create my own.

First, the size needed to be determined.  For my classroom door, the window frame is 8"x32", the glass itself 1" smaller.  I figured an inch or so on each side of the frame would be needed.  I also took into account where the shade would be mounted to give enough clearance for the window to be visible when the shade was tucked away.  I estimated the shade bundled up would need about 3.5"-4", therefore my finished size should be about 40" long.  The goal of my width was 10".

Many people have some sort of weight at the bottom, most using dowel.  I decided to use dowel too.  It's about 9.5" to fit nicely between the topstitching.

In order to hang the window curtain, many people use Command™ hooks and create loops at the top. I thought that seemed to work well.  Many also use loops to hold the curtain up when not in use.  I considered that, but then decided it might be easier to have a separate mechanism for opening the shade.  A concern was that the whole shade might be knocked down while removing the loops.  I went with hook and loop and a strap or tab.

How to make a classroom door window cover:

First choose some fabric.  Many sites suggested using black on the backside.  I chose black on the back and something fun on the side which would face into the classroom.
A piece of dowel, wood or something else to give the bottom edge some stability and weight. ~9.5" long

For my finished 10" width, I cut the width of the fabric at 10.5" and used a 1/4" seam allowance.
For the finsished 40" length, I cut the length of the fabric at 40.5" and used a 1/4" seam allowance.

For the tabs, I used the excess fabric cut at 3.5"  x 11" - some of length will be cut off (The width could be bigger or smaller, much smaller and it's harder to turn.  I made one with a 4" width and that worked well too.)

For the loops that connect to the hooks, I used 1.75" x 11" of scrap - this will be cut in half

Iron and cut the front, back, tabs and loops

Loops: 1.75"x11" print
Fold in half lengthwise and iron, then fold in each long side towards the fold and iron.  Fold over again enclosing the raw edges and iron. 
Topstitch down each long side.
This will be cut in half to form the two loops. 
(If you keep it together until the very end, you're less likely to lose one little piece!)


Tabs:  (2) 11"x3.5" black
Fold in half with right sides together the long way.  Sew down the long edge.  Turn right sides out, iron (I did seam in middle), and top stitch down long ends
Turn down one short end 1/4" and iron, then turn over again about 1 1/4" to form a spot for the velcro
Install matching loop velcro on small tab
Take black "back" piece of fabric (10.5"x40.5") and lay the tab pieces with velcro facing the right side of black fabric.  Tabs are about 1 1/4" in from the side edges. 
Cut the loop piece into two equal pieces.  Fold each in half and pin to top edge of black fabric between the tabs and the side edges.

Add print fabric on top of the black with right sides together and sew through all layers on all four sides.  Leave an opening at the top between the two tabs.


Trim corners and turn right sides out.  Iron and top stitch - still leave the top area open!

Check the size of the short bottom edge between the topstiching.  If it is about 9 3/4", cut some dowel about 9 1/2".  If your sizing is different, test out the dowel and cut more as necessary.

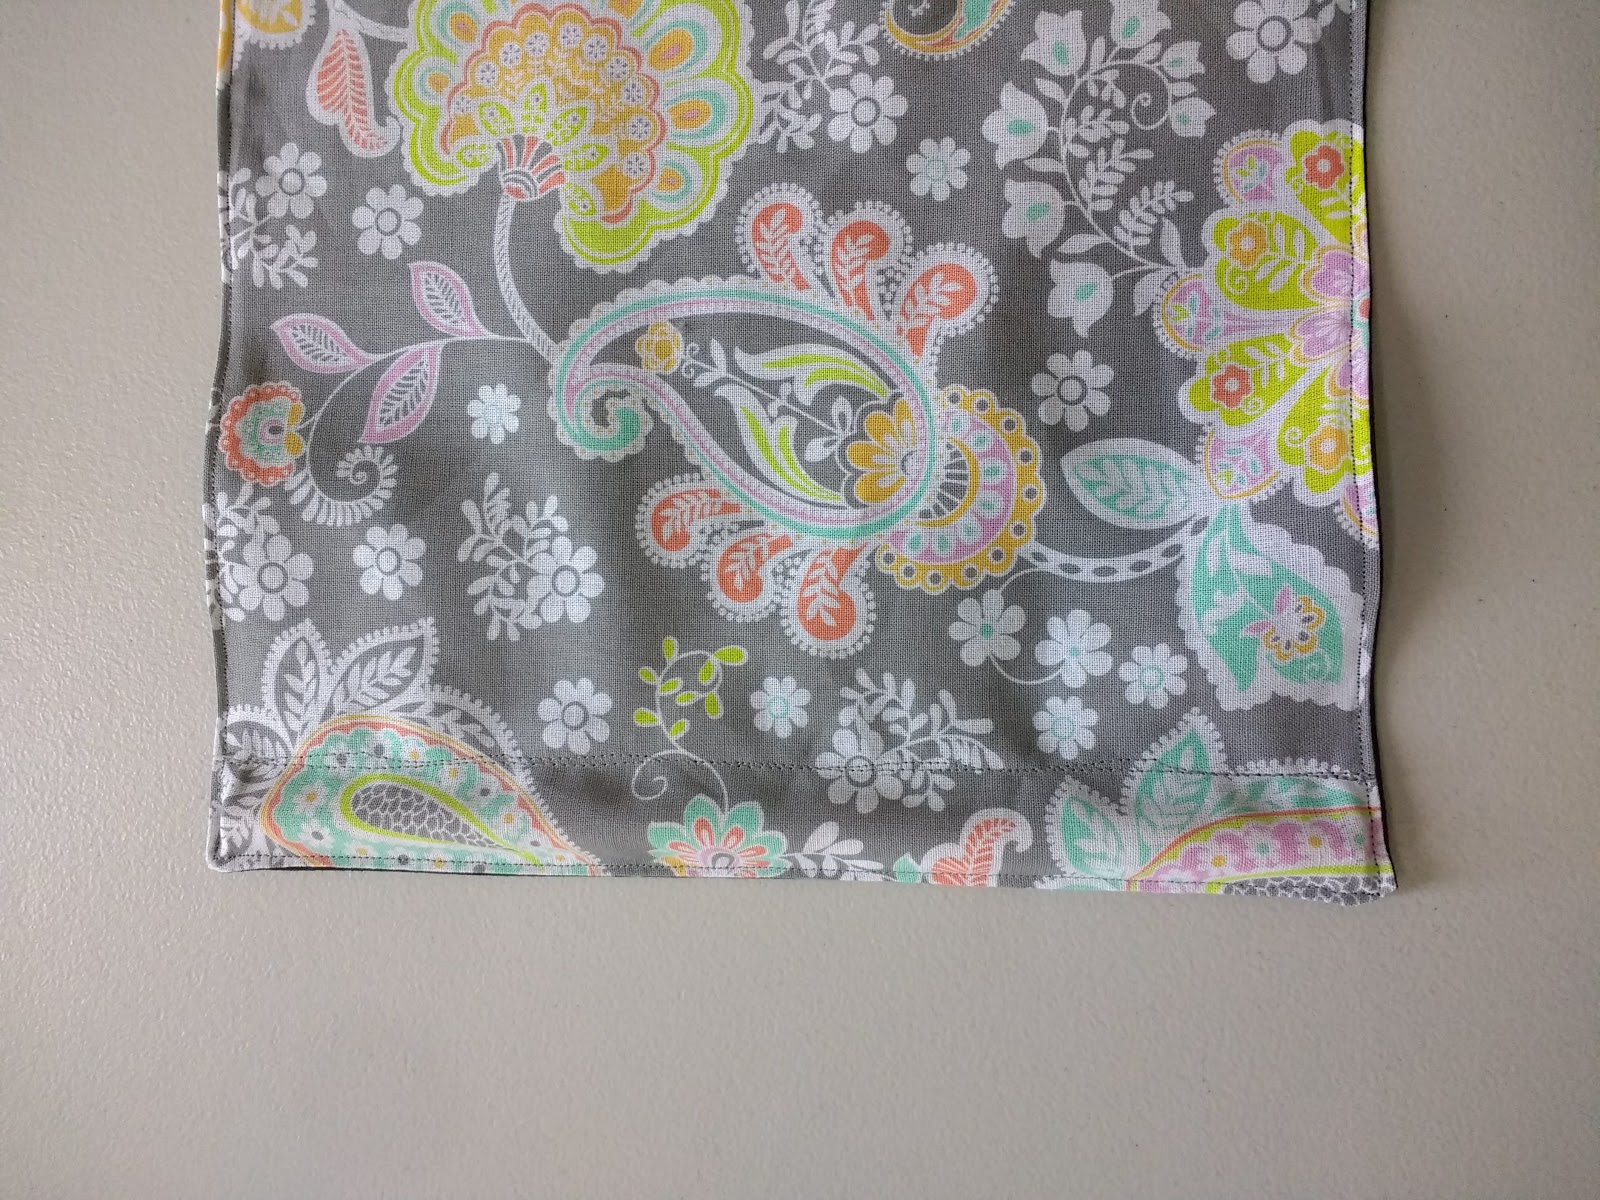
After inserting dowel and sliding it to the bottom of the curtain, sew a seam just above the dowel to create a pocket for the dowel.

Topstich across the opening at the top.  Add the hook velcro to the top edge and go through the tabs that are laying on the black backside.

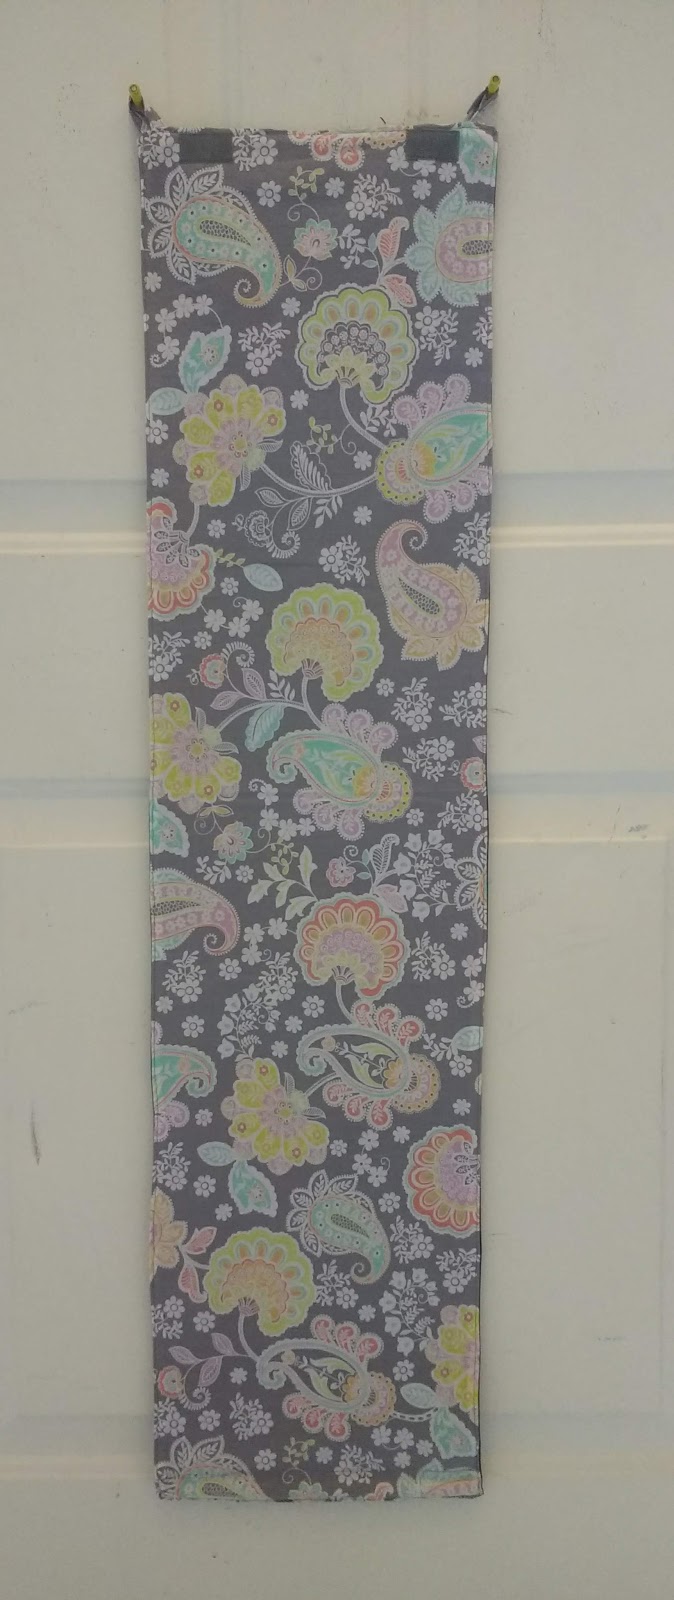
Front
Back
You are done!  Hang up your curtain and test out the rolling and the unrolling.  


It can be fun to customize the prints to the teacher or the classroom.


Friday, November 30, 2018

Reversible Sequin Marble Fidgit

After making some scrunchies out of reversible sequin fabric, I thought the size would make a nice fidgit toy. My sister had made us fidgit toys using a crocheted tube formed into a bracelet with a marble inside.

I started with a 15" x 3" strip of reversible sequin fabric with the sequins reversing the long way.  


Then I sewed the strip into a long tube with right sides together. My machine sews over the sequins fairly easily, especially when they are inside.


Turning the tube right side out took some finessing. I used my hook and also a chop stick. Sometimes the sequin fabric is easy to work with and other times not so much. 


I added a 1/4" x 8"  of elastic to go inside. First I snaked the elastic through with a safety pin, then I secured the elastic towards each end with a straight pin, and finally I overlapped the elastic ends and sewed them together.


The sequined fabric ends needed to be hand sewn together. But beforehand, I inserted a marble inside. 

Then I folded under a small edge of the sequin fabric and tucked the other end inside. Finally I stitched the ends together by hand with a blind stitch.


I have tested it myself along with my family members and then took it to school and some sixth and seventh graders tried it out too. So far the response has been very positive with most people wishing they too had a reversible sequin marble fidget toy.

Wednesday, May 3, 2017

New Handprint Quilt Done!

Handprint Quilt
I'm thrilled that this quilt went together so smoothly and quickly.  Sunday was a big sewing day and I also spent Monday afternoon.  Tuesday I took off and got a lot done with few interruptions.  I spent time planning of course and two shopping trips for fabric.  Tuesday evening and Wednesday were when I hand sewed the binding.

I ended up using almost all the fabric I got, so the amounts were pretty close to what I needed.

  • I had 6 accent prints (3 pinks & 3 blues) - 5/8 yd of each
  • The multicolor off white I had over 3 yards.  Probably 2.5 yards would have worked.  That was used for the front, the back, and the binding.
  • For the handprints, I used Kona ivory and had 2 yards.  That was perfect for 19 students with one mistake.  


I used a twin sized packaged batting and quilting thread.

The quilt size is about 48" x 60".

Back of quilt


Tuesday, May 2, 2017

New Handprint Quilt continued

I received the new handprints and got all of the top layer stitched together yesterday.


The next step is to make a quilt sandwich. The first layer down is the back, then the batting, and finally the top. With another mom's help we got the quilt sandwich pinned together quickly.


I planned to use my big quilting sewing machine to do free motion quilting. I often need to re-familiarize myself with it as I don't use it regularly. After changing the needle and cleaning and oiling the bobbin compartment, it was ready to go. Fortunately, the machine worked great!  Here's a little video of me doing the free motion quilting. It's like doodling on fabric.

Here's a close up of one of the hand prints quilted. As I worked, I read each name and and was thinking of each child and also of course of their teacher.


After quilting the layers together, I sewed on the binding.  I used a narrower 2.25" binding.


The final step is to hand sew the other side of the binding to the back side of the quilt.  It's almost done!


Sunday, April 30, 2017

A New Handprint Quilt

I am excited to be working on another special project for my daughter's teacher. Many parents came together wanting to do something for her and I offered to make a quilt like I had for another teacher who was retiring.

Step one was to get painted hand prints from the children. Fortunately two moms were able to do that before the weekend. I purchased coordinating fabric and today got to work putting it all together. Two students were missing on Friday, so we will hope to catch them on Monday.

I cut apart the handprints into 8.5" squares and cut strips of the coordinating fabric into 8.5" x 4.5" strips and 12.5" x 4.5" strips.

Next I laid out the handprint blocks and the coordinating strips.


Then I  pieced together the back of the quilt.

More progress is shown in the next blog post.

Thursday, September 15, 2016

1st Grade Valences & Sink Curtain

My daughter's new first grade teacher is new to the district and new to first grade.  I sent her an email welcoming her to our school and offered to do some sewing for her.  I was remembering how fun it was to make the Native American props last year and wondered if there would be something similar appreciated this year.  However, I did mention in my email that I could probably be talked into making curtains for the classroom.  I had no idea how many windows she would have though!
First Grade Curtains Valances

Because I had the various curriculum topics on my mind and also remembered one of my favorite projects making Kessa's Kindergarten quilt, I thought it might be fun to include different prints to coordinate with each curriculum topic.  After trying to explain my vision and showing the teacher a small picture from Kessa's quilt, she was on board.  The teacher also requested a curtain to hang under the sink in the classroom.  There was already velcro hanging there.

For the under sink curtain, I just made it 1.5 times the width and just one layer of fabric with all raw edges hemmed.  I added tucks every so often to have it fit the velcro.  I loved that I had extra of the crayon print for some detail.

The first step for the valances was to gather various prints I already owned.  I had been researching the different curriculum topics and started searching for fabric prints for each to buy.  Some topics were easy to consider and for others I needed to think more creatively.  Not every topic is well represented either.  I wanted to include many children's book prints too.  There are so many out there.

Some of my favorite fabric prints I found were chicks for the eggs they hatch in the spring, the many children's books including prints from Eric Carle, Dr. Seuss and Don't Let the Pigeon Drive the Bus.

Each rectangle of fabric was 4.5" x 6.5".  I added in small strips of light blue every four rectangles.  The finished valances are 18" long and I ended up having the front and the back be one continuous piece of light blue connecting at the prints.  My header was 2.5" to be sure to accommodate whatever hanging method the teacher found.  For the side seams I just serged them and folded and top stitched.

Because the large windows were eight feet wide, I opted to sew two separate panels for each.  I did repeat the prints between the two large windows and small single window.  Some repeated more than others.  I also added some basic prints to add variety.  These valances also were 1.5 times the width of the windows.

It was really fun searching for prints and finding old prints of mine.  One red print with dinosaurs and books was from a pair of shorts I made for a toddler friend in 1999!