Monday, February 18, 2013

Making Cornbread Mix Go Further

I was invited to make a soup, chili or something to go with it for a pot luck event. Not having a great soup recipe, I considered side items. Having two boxes of Jiffy Cornbread mix in the pantry seemed like a good idea to make. Each box only yields 6-8 muffins. That didn't seem like a proper offering. I looked around at variations for the mix and also additions and found some good recipes. One I followed loosely.

Cornbread Muffins
I saw some recipes adding corn. The recipe I liked called for creamed corn and I didn't have any. I did have frozen corn. After perusing creamed corn recipes, I liked this one.

I ended up making a half recipe of creamed corn with 8 ounces of frozen corn. Using 3/4 cup of milk instead of a full cup would have probably been perfect. As I made it, I ended up draining off some of the liquid.

My recipe ended up like this:
2 eggs
1/4 cup milk
6oz plain Greek yogurt
2 boxes of Jiffy mix 8.5oz

Creamed corn: 1/2 bag 16 oz frozen corn cooked, 1.5 TB butter, 1.5TB flour, 1 cup milk, 1.5 Tb sugar, pepper (drained some liquid off)
1 cup shredded Mexican blend cheese


This yielded 11 regular sized muffins and 24 mini muffins. The muffins were very moist and got nice reviews from my kids. I liked them better than the plain mix because they texture was less gritty.

Friday, February 8, 2013

Girl Scout Quilts Completed

Finishing the two Girl Scout quilting projects coincided with me purchasing a used HQ 16 sit down mid arm quilting machine. This gave me extra motivation to complete the parts and get to quilting.

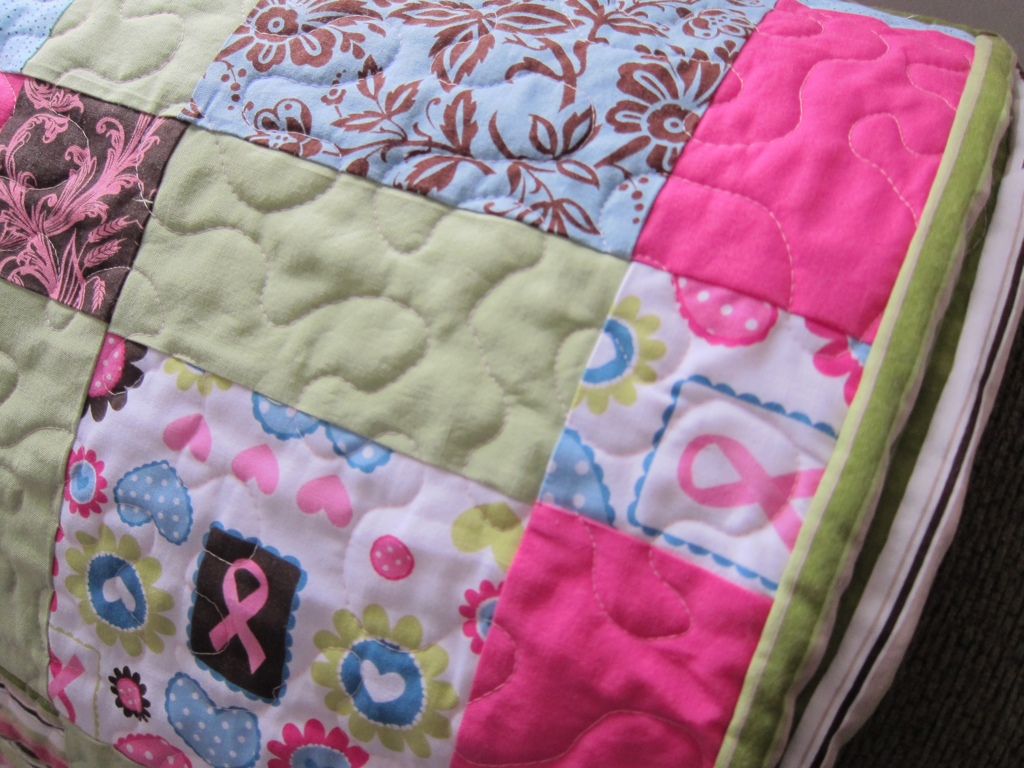
Beginning with the pink ribbon quilt, I finished putting the rows together. There were a couple squares put together where the seam allowances were too big and the row was too short. I did end up ripping out them and resewing. For the most part, it went together fine. Another step I needed to do that I don't usually need to do was to square up the quilt front. The edges were just not straight. A three inch striped border pulled it all together.

For the back, I had purchased striped fabric and knew I would need to piece the back. After measuring, I figured I wasn't too short and adding a column of leftover squares would make up the difference. Pink ribbon and brown squares were mostly what was left. Because I don't usually follow quilting patterns, there are many shortcuts I haven't learned yet. In researching quilt ideas for the 
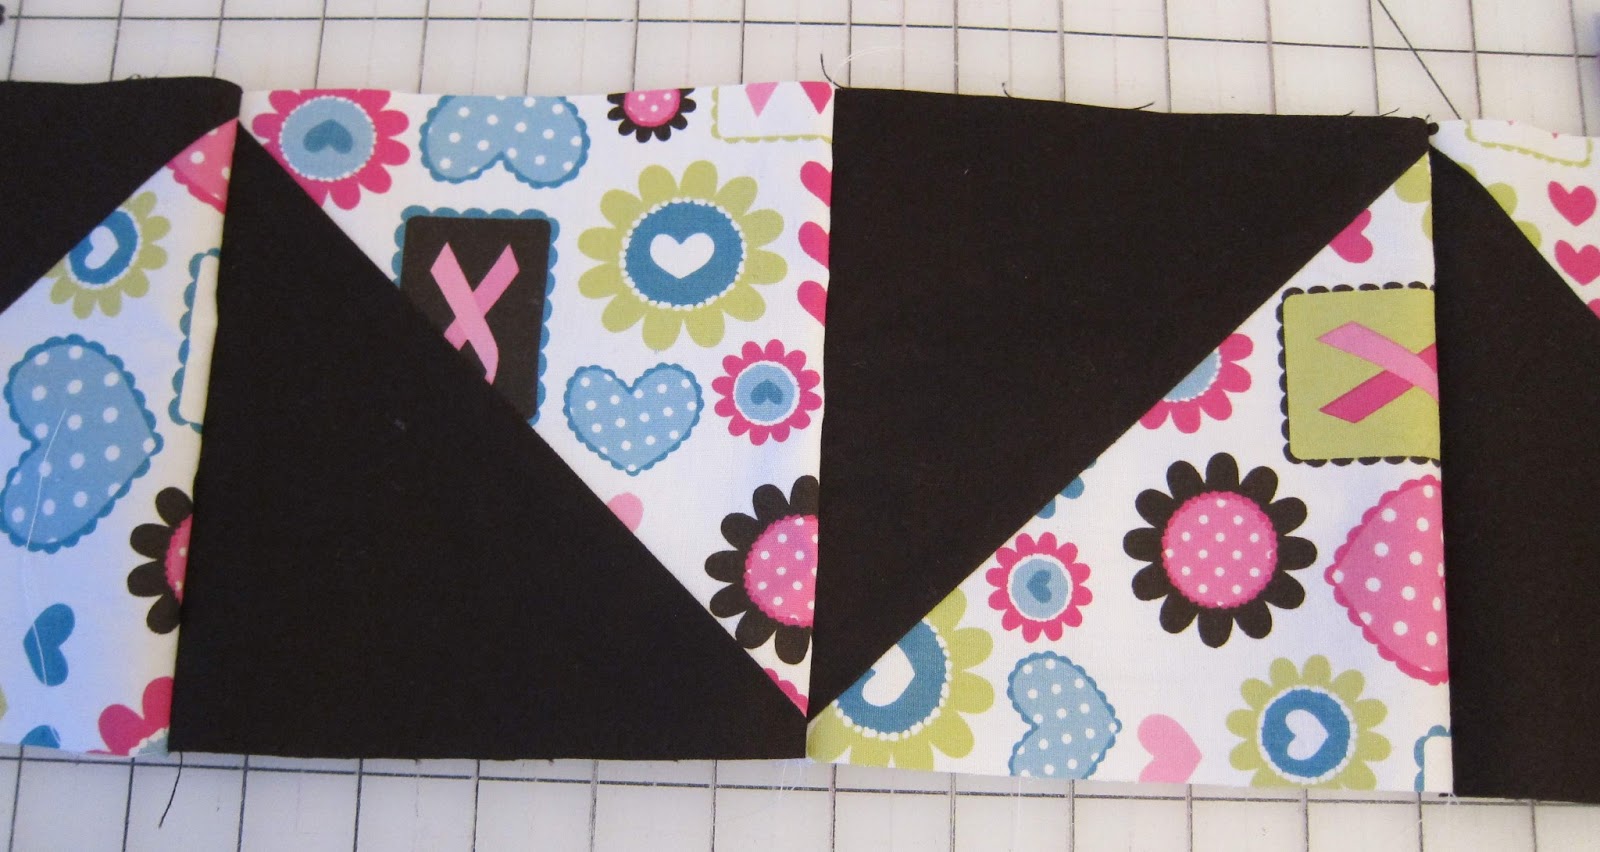
"Blip on the Radar" quilt, I found a triangle trick using squares. It worked out well and went together quickly.

Back of the Pink Ribbon Quilt
The blue quilt had additional problems. This group didn't always sew the squares together all the way to the end. As I sewed the rows together I had to fix some of the seams. After some consideration, I decided not to add a border to this quilt, but to add an additional row and column of squares. This seemed to work better. The paisley fabric had been give to me at some point. I don't even recall where it came from, but is a nice wide fabric and I had a lot of it. It worked well for the back without needing to be pieced.


Finally I was ready to quilt. I was a little nervous to be using this beast of a sewing machine, but I had also practiced with it enough to know it was a better option than using the cramped quarters of my regular sewing machine. It felt very different sewing on the big quilt versus my small practice pieces. I could go much faster and travel further. My meandering quilting pattern seemed to be fairly spaced out and went fast. It was certainly a time saver.

For the blue quilt, I considered trying a different quilting pattern for the stitching. A paisley pattern would have matched the quilt well, but I was concerned about committing to the whole quilt and having it take too long.

Because I needed a new thread color for the blue quilt, I tried out some Gutermann I had on hand and could not get the tension right for the HQ 16. Finally I bought some new thread designed for machine quilting and it made all the difference! It was a Coats and Clark variegated blue. It was new to me using a variegated thread and I liked the effect.

Typically I hand sew the bindings on and after considering ways to machine sew it on, decided to go with hand sewing.  It is a longer process, but fairly mindless and can be done outside of my sewing room.

I look forward to bringing the completed quilts to our next Girl Scout meeting and showing the girls how a bunch of squares they sewed together can transform into a beautiful quilt. The next stop for these quilts will be to be donated to the Breast Cancer Coalition of Rochester. They will be offered to newly diagnosed women.

Hair Streamers

My daughter and two other girls are planning on doing a hula hoop routine for their school's talent show.  I helped them with the hoop choreography and shopped for matching tank tops.  We talked about all the girls wearing high pony tails for the routine and maybe having a ribbon in their hair.  I checked out my ribbon stash to see if I had coordinating colors.  Because I had created quite a stash for my hair bows, I had all kinds of options!

Green & Black Hair Streamer
I chose different widths and colors and even added a organdy white ribbon in the mix.  They really are straightforward to make.  First, layer the ribbons, then stitch through all the layers in the middle.  The next step is to wrap the thread around the middle a few times to cinch it together.  Finally add the hair band and a small 3" ribbon which has a single knot in it.  I also used a flame to melt the ends a bit to prevent fraying.  Sewn all together it is quite secure and I'm sure will look great!


Thursday, January 31, 2013

Double Chocolate Chip Muffins Revisited

I was excited to try to make a better muffin recipe and I think this round was good.

Recipe

Mix together
1 banana
1/2 cup of sugar
1/4 cup olive oil
Add and mix
1 egg
1/2 teaspoon vanilla
Add and mix
6 oz plain Greek yogurt
Add and mix until just combined

1 1/2 cup flour
1/2 cup unsweetened cocoa
1 teaspoon baking soda
1 teaspoon baking powder
1/4 teaspoon salt
Add and mix in
3/4 cup chocolate chips
Divide into 24 mini muffin pan
1/4 cup chocolate chips to sprinkle on top

Bake 12 minutes in a 400 degree oven.

These muffins were more moist with the banana and had a slight banana flavor.  The chocolate still was the dominate flavor.  I still wonder about the baking soda and baking powder and wonder if I could leave one out.  Reducing the egg and oil seemed to be just fine.  In addition I reduced the flour by a bit.

The consensus is that these muffins are an improved version!  

5/2013 - Made some substitutions and tastes great!  1/4 cup coconut oil (olive oil), Ener-G egg replacer (egg), 1/2 cup wheat flour + 1 cup white flour (1 1/2 cup flour)  Nutritional Info is for coconut oil, wheat/white flour mixture and an egg.

Monday, January 28, 2013

Double Chocolate Chip Muffins

We were sampling the giant chocolate chips and I thought why not make something with them. I settled on this recipe for Double Chocolate Chip muffins from the Ghirardelli website.

All the ingredients were on hand except for a cup of sour cream. We did have six ounces of plain Greek yogurt which I hoped would work out.

I would like to experiment more with this recipe to reduce the butter and possibly the eggs. I bet some banana would add some moisture and a nice flavor.

This muffin recipe makes a fairly dry and sticky batter and isn't overly sweet. They have a nice chocolate flavor. I bet using smaller chocolate chips would yield a more even chocolate flavor.

I used my mini muffin pan and baked for 14 minutes at 400 degrees.

Everyone here seemed to like them okay, even the Greek yogurt skeptics.  As they are, they cannot be considered a favorite yet.


Friday, January 25, 2013

A Blip on the Radar

Finished Quilt
Since being diagnosed with breast cancer almost six years ago, I had not yet had a friend diagnosed until now.  She's a newer friend and we didn't know each other when I went through treatment.  Finding out her diagnosis along with her certainly brought back many memories.  The decision making, the waiting, and how cancer related appointments and recoveries seem to gobble up more and more of your schedule.

A quilt started to take form in my mind.  I wanted to have some pink ribbon fabric symbolizing the pieces of the breast cancer journey.  As the ideas were coming to me, I thought of how cancer is almost always on our radar.  Usually it's just a blip, maybe a friend, a family member or a friend of a friend.  When someone is diagnosed, the blips come more regularly.  There are many appointments, decisions to be made, more appointments, and recovery.  Eventually, hopefully, it all becomes a distant memory and the blips are spaced out further and further apart.  Perhaps a blip might be your own cancerversary or something in the news, or someone's new diagnosis.

First layout
My first lay out of this idea didn't come out as I expected.  After looking at many quilt ideas, I decided I just needed to add more fabrics to the mix.  Fortunately I had some coordinating colors on hand.  Using a disappearing nine square design sounded like a good idea.  The squares I had cut were 6.5".  I added six more printed fabrics and decided to try to make all my "nine square blocks" fairly random with the exception of the top and sides.  I used pink on the sides of every block and green on the top and bottom.  This would give the whole quilt a bit of pattern mixed in with the more random large and small squares.

I've done quilts with the disappearing nine square pattern before, but never tried a more random pattern.  Once I had about a third of the blocks done, I figured out that I needed to start planning the future blocks in order to keep the randomness going. 
Disappearing Nine Square


Nine Square

A nine square block turns into four new blocks.  Alternating the colors for the middle square and outside four squares creates new patterns and randomness.


Pieced Back of Quilt
For the back, I had already purchased the striped fabric that seemed to match the pink, green, and brown so well. Because of the pattern I chose to do with the alternating pinks and greens on my quilt front, I had extra Disappearing Nine Square blocks with the pink rectangles on "top."  I decided to use these along with extra pink and green for a pieced back.  Because I wasn't able to work on it all in one day, I had time to consider other options.  I thought a heart block would be neat to include.  I had never made one before.  I found a nice tutorial from Tallgrass Prairie Studio for a heart block.  Had I worked on the back all at once, I might have chosen a new color for the heart, such as pink.  But then I wouldn't have made a heart block at all.  Another consideration which occurred to me later was to have the blocks and pink and green sections a bit away from the outside edges.  Had I forgotten this step, I would have cut some of it off after quilting it.
Close Up

Free motion squiggles are still one of my favorite quilting designs to make and goes fairly quickly.  I used more of the striped fabric for the binding and had just enough fabric left.

Wednesday, January 23, 2013

Zippered Pouch

While planning a sewing day for the third grade Girl Scout Brownies, I wanted to make sure we had enough to do in the time allotted.  Also, while it is nice to make donations, I know the girls really like sewing for themselves and being able to take something home.  We didn't get to this project yet, but hope to make them in March.

I looked around for easy patterns and decided to do a less easy pattern, but that I would prepare it for them.  A zippered pouch would be a nice finished project.  This tutorial and this other one had nice instructions.  After testing out the pattern, I decided to only have the girls sew around the outside edge and make a flat bag.

Before the meeting, I emailed each parent to ask their girls' favorite color. Fat quarters were on sale and even though the material isn't very thick, the lining should add some thickness and be ok.

Zippers were ordered in bulk.  I ended up with 8" zippers.  The outside fabric and lining were cut to 10" x 4".  To save a step, I ironed down one long edge of the outside fabric and lining to be sewn to the zipper.  I did this all in one step.  I completed the bag and created instructions for the girls to finish the zippered pouch.

After sewing the zippers in, I trimmed the pouch down so that the zipper was closer to the length of the fabric.

The next step was to open the zipper halfway and then sew around the outside of the fabric right sides together and the lining right sides together, leaving a small opening in the lining bottom.  Then clip corners and flip.  Finally hand sew the small opening closed.


Update 3/2013: We were able to sew these pouches together at our March meeting. I thought it would be a very quick project because we are essentially just sewing one seam. But it took longer and was just right for them. I had instructions with photos of the steps which was helpful. Pinning took time, taking turns on the machines, then turning and finding the corners. Finally we just sewed the opening in the lining by machine. We only had three machines for this project and less than an hour allotted. There were eleven girls present. When the girls weren't working on their pouches, they either looked on, hula hooped, or worked on some coloring pages.