Saturday, March 12, 2022

Flower clips from leis

My daughter and her team are participating in a Hawaiian themed meet.  One parent purchased leis for everyone and had some extras.  I offered to make flower hair clips out of the extras.  

I had followed a tutorial in the past for making hair clips.  They used different sized flowers, pulled apart and then hot glued together.  To cover the center hole, a coordinating gemstone was stuck on.  


When I received the leis, it was clear I would need to use a different technique.  These leis have beautiful flowers and they're quite big.  I wasn't able to get a 3D effect layering them.  I decided to make two sets of layers and then fold them together.  I liked the look of them, but it didn't seem like hot glue was going to be the best medium for these.


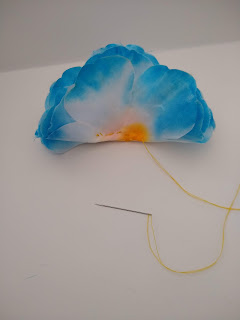
I created two sets of 4 flowers layered and slightly off-set.


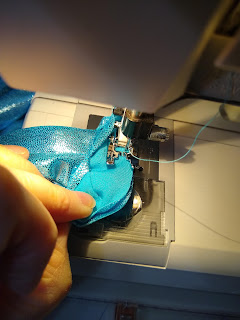
I then put the two sets together and sewed the folded edge together. 


The final step was to sew a metal hair clip to the flower.


Tuesday, February 22, 2022

FACS bread recipe


FACS (Family and Consumer Science) is the new version of Home Ec.  Due to the pandemic and still not eating together in the classrooms, they have become very creative with their cooking and baking.  Bread was the latest project for 6th grade.  First my daughter needed to fill our a survey about what ingredients we might have at home.  I imagine if we were lacking items, they would be sent home as well.  We have a well stocked pantry and received a gallon sized ziplock bag with the recipe, two small foil pans and a packet of yeast.

The recipe is called Bread in a Bag.  I discouraged my daughter from using the bag for mixing, but it's a creative idea.

Ingredients:

3 cups of flour, we used bread flour

3 TB sugar

1 package of rapid rise yeast (2.25 tsp)

1 cup warm water

3 TB oil, we used olive

1 1/2 tsp salt

Directions:

Combine 1 cup of flour, 2 TB of sugar and the yeast.

Add 1 cup of hot tap water.  Mix.  Allow it to rest for 10 minutes.

Add 1 cup of flour, 3 TB of oil and 1 1/2 tsp salt.  Mix well.

Add last cup of flour and mix well.

Knead dough on lightly floured surface for 5-10 minutes or until smooth.

Divide the dough and place in the 2 greased mini pans. 

Cover with a towel and allow to rest for 30 minutes.

Bake at 375 degrees for 25-30 minutes.  Both times, our loaves were done closer to 20 minutes.

The recipe calls for all the mixing to be done in the ziplock bag as squishing.  That would work, but we used a stand mixer with a dough hook.  She did enjoy kneading the bread by hand.

This recipe is quick and very easy.  My daughter was able to make this bread by herself.  I only supervised her taking them out of the oven and checking for doneness.  The mini loaves went pretty fast and it was determined that she would need to repeat this project.  For round 2 I suggested she try braided bread instead.  This recipe worked very well again in a braided form on a flat pan.  Kudos to the FACS teachers for providing a simple, quick, and tasty recipe!

Saturday, February 5, 2022

Scrunchies


In 2020, we planned to attend a Hawaiian themed gymnastics meet where the girls wear fun leotards, grass skirts, and leis.  I had suggested our level 3 girls all wear the same "fantasy flowers" leotard from Amazon.  It didn't come with a scrunchie.  I found mystique Hawaii blue which matched the flower in the leo nicely and offered to make some matching scrunchies.  The meet was cancelled along with many other things in 2020.  

Fast forward to 2022.  There is another Hawaiian themed meet and because some of the girls still have the fantasy flower leotard and I still have more mystique Hawaii blue fabric, I offered to make some more scrunchies.

What is surprising is that I did very little sewing outside of mask making since that time and no scrunchies at all.  I momentarily forgot what method I used for sewing and what dimensions I had settled on.  Fortunately, I did find a note on the sizing and I had my daughter's scrunchie to measure and verify the construction.

The whole reason I keep a blog is to remind myself of past projects and all the little details I am sure to forget.

Scrunchies

Cut 3.25" x 20"

Cut 8" strip of 3/8" elastic

Sew right sides together the long way leaving the first and last 1"+ unsewn.


Turn right side out.


With the short right sides together, sew the ends together. I saw one blog do this with the scrunchie half way turned out, but I did it all the way turned.

Install elastic and pin to hold.

Sew through elastic.  I use a 3 step zig zag.


Smooth out the side opening and topstitch closed.


Done!  Or in this case, almost done with 21 scrunchies made assembly style.


Monday, January 24, 2022

Zippered Pencil Pouch


I wanted to make a simple pencil case as a gift. I've made many of these over the years, but it seems like the last two years I've only made masks. I forgot what dimensions work well and overdid how much I took off the corners. My second attempt was too big and too floppy.

The second attempt


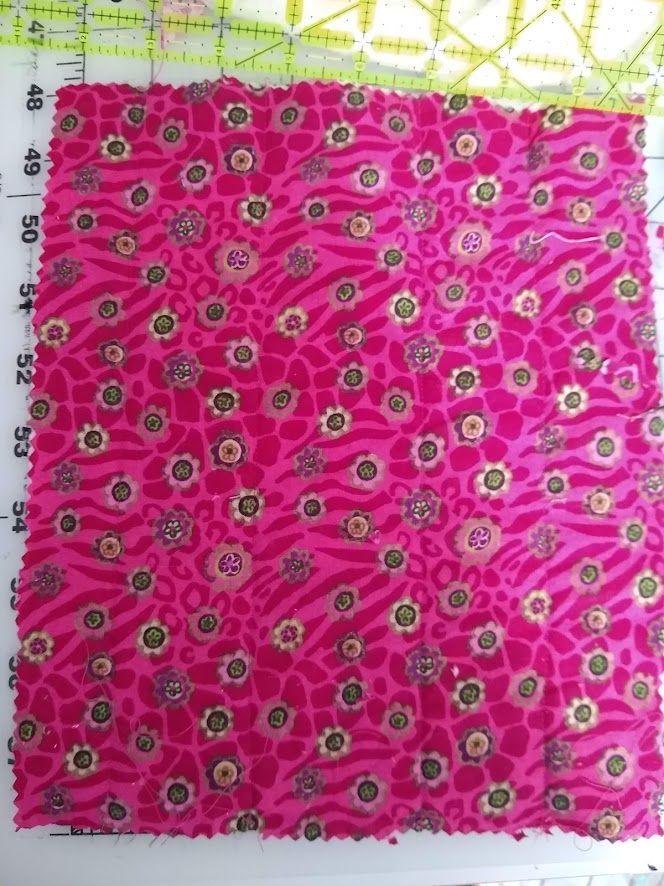
My goal of being quick and simple was long lost. I decided to use one of my favorites as a guide, but smaller. I cut 8" x 10" of heavyweight cotton, thin batting and a cotton lining, slightly smaller on the batting.  It's a tight fit for pencils. A bit longer would be better. I used a zipper foot and ½" seam allowances.


My goal of being quick and simple was long lost. I decided to use one of my favorites as a guide, but smaller. I cut 8" x 10" of heavyweight cotton, thin batting and a cotton lining, slightly smaller on the batting.  It's a tight fit for pencils. A bit longer would be better. I used a zipper foot and ½" seam allowances. 


First I took the three layers and sewed lines through all the layers. 


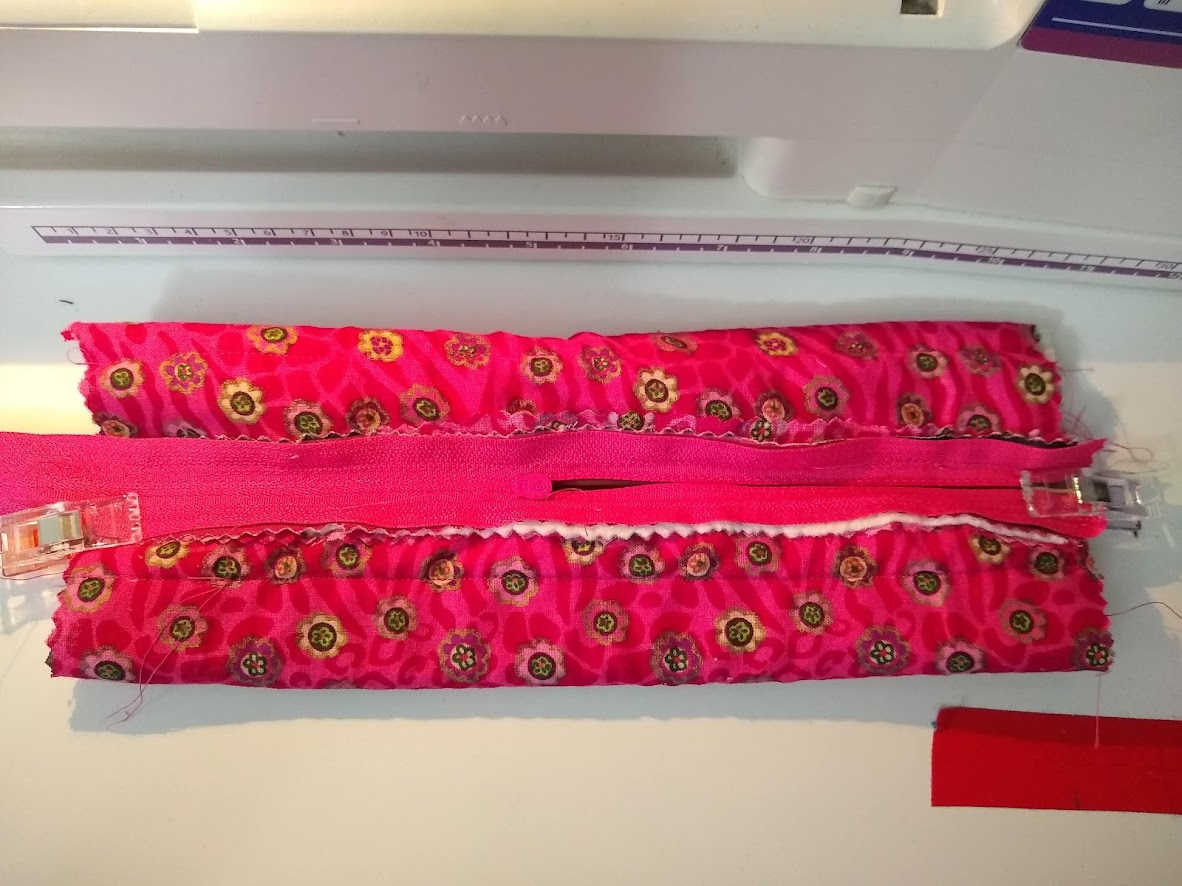
Then I installed the zipper right sides together on the right side of the heavyweight cotton using my zipper foot and adjusted the needle position. After doing both sides of the zipper tape, I topstitched. 

This style of bag is nice because of the way the seams incorporate the zipper. 

With the zipper half way open, center the zipper over the bottom with right sides together. 


Sew across the two ends and then create the corners.  I boxed all four corners and took 1” off.


Just big enough for a new sharpened pencil.


Finished size is about 8”.


Monday, March 8, 2021

Quinoa Rice Bowl

We actually just call it Quinoa Rice, but it's much more than that.  I love this dish because I can have a filling warm meal in about 15 minutes.  Another thing to love is that my ten year old also enjoys it!

I started making this after having Panera's Baja Bowl and finding copy-cat recipes.  Initially, I always added chunks of avocado, halved grape tomatoes, and feta cheese.  More recently, I have it without those extras and add some Mexican cheese.

The ingredients are

brown rice

quinoa

a jar of black bean corn salsa

a can of rinsed black beans

a tablespoon of salsa verde (optional because sometimes I forget)


My 15 minute prep:

First choose a medium sized glass bowl and fill with one cup of water and one cup of par-boiled brown rice.  Cook in the microwave for 5-6 minutes depending on the strength of the microwave.

In a small saucepan, add one cup of water and 1/2 cup of quinoa, bring to boil, then cook for 12 minutes on low.

While things are cooking, open a can of black beans and drain and and rinse.  Open the jar of salsa and salsa verde.

Once the rice is done, dump in the whole can of black beans, the whole jar of salsa and one tablespoon of salsa verde if you like the added zip.

When the quinoa is done, I add it right into the rice, salsa, bean mixture and eat it right away!  The quinoa instructions usually recommend letting it sit, but I don't find it necessary.  I don't rinse my quinoa either!

With room temperature beans and salsa, the mixture is a little on the lukewarm side, but it's
not terrible.  A quick zap of the microwave can bring it up to nice and warm.

I often eat this in a bowl topped with Mexican cheese and sometimes some corn chips.  The ten year old likes it in a flour tortilla.  This recipe yields 4+ meals.


Sunday, June 28, 2020

Chalk Bag for Gymnast

Gymnast Chalk Bag
New regulations require each gymnast to have their own personal chalk bucket.  I've seen pictures of gymnasts around the country using different types of containers.  Some are modeled after chalk bags used by climbers, others are just using some sort of plastic container.  Ever since I heard about the possibility of gymnasts needing their own containers, I have looked around at the possiblities.  Chalk bags for climbers are on the small side as they typically chalk one hand at a time.  Gymnasts like to get both hands in there.  I liked the idea of using fleece inside to help contain the chalk dust and nylon at the top to help keep it contained.  My daughter wanted to use a plastic container she found.  I created a bag which would do both, hold the container and hopefully hold the chalk as well.

Because the plastic container was about a 7.25" circle and 3.5" tall, I started with these dimensions and then cut a bit bigger.

I wanted to make a prototype first and started with an 8" by 25" rectangle and an 8" circle for the bottom (an 8" plate was perfect to trace).  I used a bottom weight material for the outside. For the inside, I used a 5" wide by 25" fleece and 3.5" wide by 25" nylon and an 8" circle.


Ultimately because my daughter wanted the plastic container inside, we decided to make the walls a bit taller.  If the sides were all solid, they'd be 25" long by 9" tall and an 8" circle.  The inside was 5" by 25" of fleece and an 8" circle.  The nylon was 4.5" by 25". 

I used 3" wide of this cute gymnastics print with interfacing on the back pieced with the bottomweight blue.


the bottom

the inside
Sewing steps:
1. Sew short ends of 25" x 8" rectangle together, right sides together creating a tube.  I used a 1/4" seam allowance and slightly widened the seam towards the top.  Many chalk bags have a smaller top than the bottom.
2. Sew the tube to the bottom 8" circle, right sides together, forming the outside of the bag
3. Sew nylon to fleece, on the long side, right sides together.  I did serge the nylon edges to help with fraying.
4. Sew short sides, right sides together, leaving a 2" opening in the fleece part.
5. Sew nylon and fleece to fleece 8" circle.  The nylon goes on top, the fleece part is sewn to the fleece circle.
6. Install grommet to outer fabric only:  the smaller bag was centered about 1.5" down from top edge, the bigger bag was 2.5".
7. Sew the inside to the outside right sides together.  
8. Flip outside through the small opening in the lining, then sew up small opening
9. Top stitch around top edge
10. Thread lacing or elastic cord through grommet and around the bag.  Use cord lock and tie ends of lacing.


Monday, May 11, 2020

Making Masks

People all over who are able to sew are sewing masks.  There's a strong need for first responders, health care workers and everyone else too.  I started making masks to donate, then for myself and my family and finally to sell to others, though I still will donate as needed.

I have made cute child sized masks and extra large adult sized masks and everything in between.  Once I ran out of elastic, I started using strips of performance stretch material that I had leftover from making gymnastics leotards.


 And after learning that surgical caps are also needed, I have made those too.  I made a few adjustments to the pattern I bought in order to have fewer raw edges and to take advantage of my serger.


 Mask patterns out there are great and I've used one in particular and then adjusted to my preferences which removes some of the steps shown in the video.  I took pictures to help my youngest make masks too.  The sizes I cut out are
Adult 7.75" x 15" - finished width 8"
Teen 7" x 13.5" - finished width 7.25"
Youth 6" x 12" - finished width 6.25"
Preschooler 5.5" x 11" - finished width 5.75"
I have made custom sizes based on people's measurements too.  I suggest cutting a paper towel to see what size works well.  Here is a video which shows the features.

After cutting the fabric, finish the two shorter ends.  I have serged them, but they could be finished with a zigzag stitch or overlock.

I use 1/4" seam allowances.
Fold in half with right sides together and sew in about 1.5" inches from each end leaving the center area open.


Iron the sewn area so that the "finished" edges are flat.  This area becomes the open pocket for filters.

Flip right side out, then arrange so that the opening is in the upper 1" of the back.
Flip to the front and iron in three pleats.  I find that it ends up about 3.5"-4" long at this point.  For teen and child sized masks, I end up using only 2 pleats.

Sew around all edges, about 1/4" seam allowance except for the top near the "pocket."  I sew near the pocket very close to the top edge.  This allows enough space for the nose wire.

 I have been using twist tie wire from the garden department.  It comes on a spool.  I cut this to 6.5" for the adult.  It allows for about 1/4" of no wire from each end of the pocket.

Insert wire into the little pocket at the top of the mask.  Then sew down the upper pocket area close to the finished edge.


Next add 2.5" wide strips of fabric to each side in order to make a casing.  Sew right sides together and overlap each end a bit and fold over.  This encloses the raw edges.  The front of the mask is the side without the open area for the filter.


After sewing, press down the seam that was just made and the small folded-in sides.  Then fold this flap in half towards the mask allowing the raw edges to be enclosed again.


 Sew down the casing close to the folded edge.  The mask is done.  Now the elastic alternative or ties can be threaded through the casings.  For fabric ties I use 1.5" strips that are 42" long at least.
I used black performance fabric here and cut about 1/2" wide.  As I pull on the strips of fabric, they naturally roll.  This can now be knotted into ear loops or knotted behind the head/neck. Here's another video showing knotting the elastic alternative. After knotting at the right spot and testing, knot can be pulled tight and ends can be trimmed.