 For lockdown drills, covering the glass in the door has become a necessity. However, the shade needs to be open most of the time.
After seeing what other people are making, I decided to create my own.
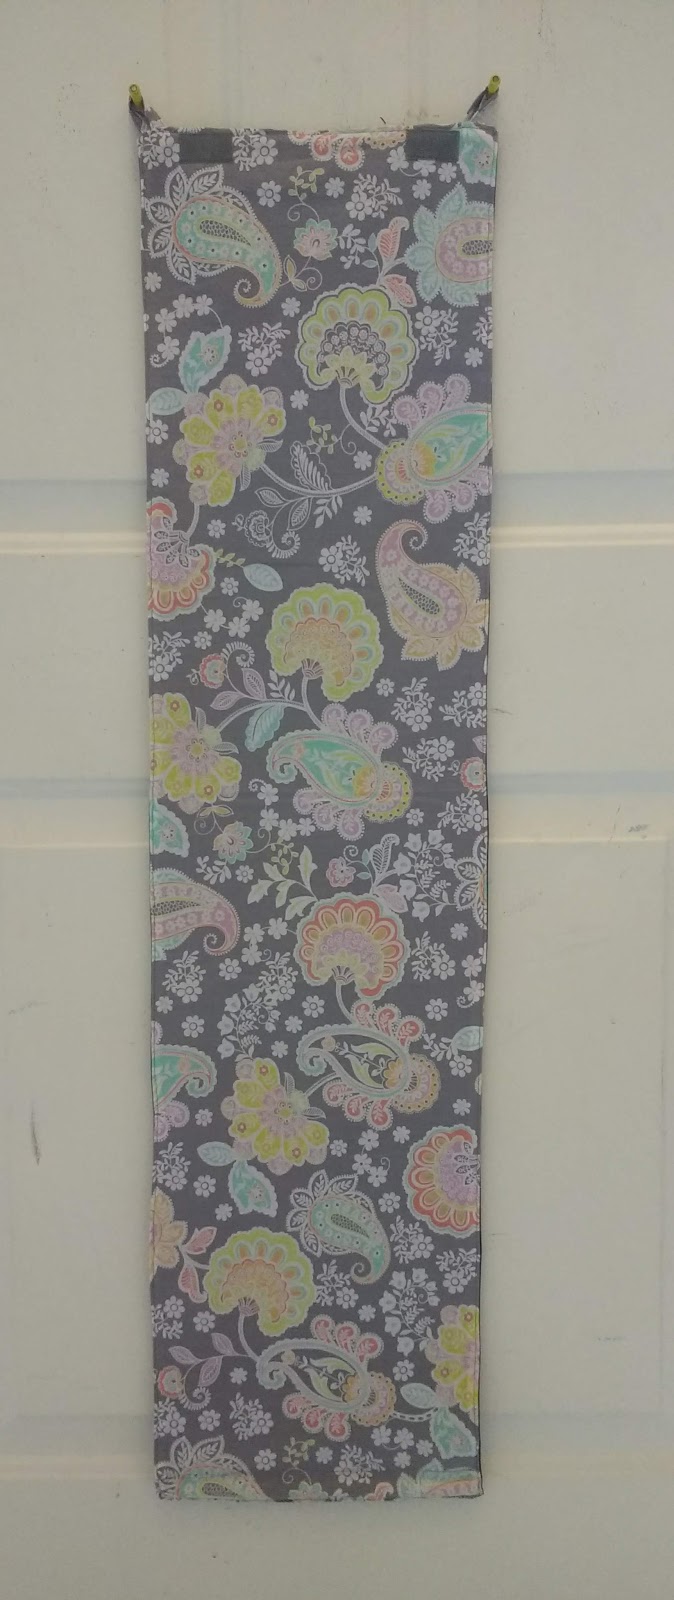
First, the size needed to be determined. For my classroom door, the window frame is 8"x32", the glass itself 1" smaller. I figured an inch or so on each side of the frame would be needed. I also took into account where the shade would be mounted to give enough clearance for the window to be visible when the shade was tucked away. I estimated the shade bundled up would need about 3.5"-4", therefore my finished size should be about 40" long. The goal of my width was 10".
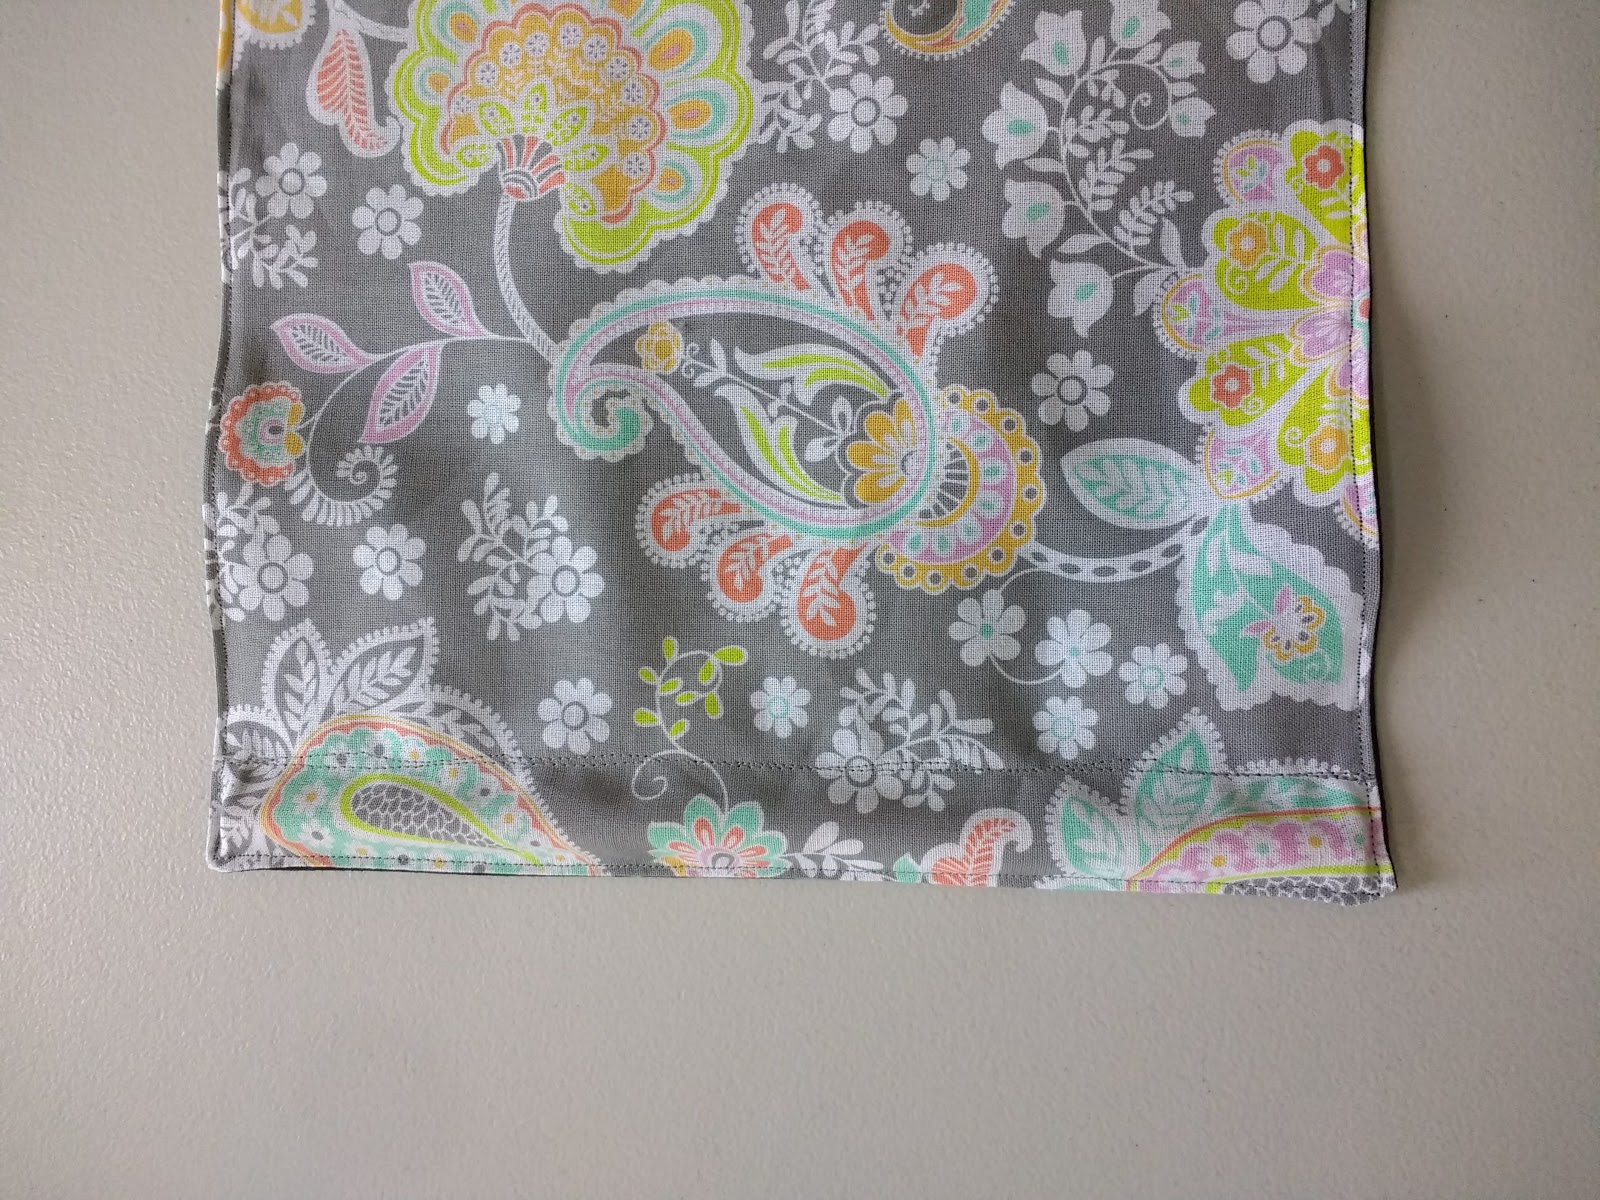
Many people have some sort of weight at the bottom, most using dowel. I decided to use dowel too. It's about 9.5" to fit nicely between the topstitching.
In order to hang the window curtain, many people use Command™ hooks and create loops at the top. I thought that seemed to work well. Many also use loops to hold the curtain up when not in use. I considered that, but then decided it might be easier to have a separate mechanism for opening the shade. A concern was that the whole shade might be knocked down while removing the loops. I went with hook and loop and a strap or tab.
How to make a classroom door window cover:
First choose some fabric. Many sites suggested using black on the backside. I chose black on the back and something fun on the side which would face into the classroom.
A piece of dowel, wood or something else to give the bottom edge some stability and weight. ~9.5" long

For the finsished 40" length, I cut the length of the fabric at 40.5" and used a 1/4" seam allowance.
For the tabs, I used the excess fabric cut at 3.5" x 11" - some of length will be cut off (The width could be bigger or smaller, much smaller and it's harder to turn. I made one with a 4" width and that worked well too.)
For the loops that connect to the hooks, I used 1.75" x 11" of scrap - this will be cut in half
Iron and cut the front, back, tabs and loops
Loops: 1.75"x11" print
Fold in half lengthwise and iron, then fold in each long side towards the fold and iron. Fold over again enclosing the raw edges and iron.
Topstitch down each long side.
This will be cut in half to form the two loops.
(If you keep it together until the very end, you're less likely to lose one little piece!)

Tabs: (2) 11"x3.5" black
Fold in half with right sides together the long way. Sew down the long edge. Turn right sides out, iron (I did seam in middle), and top stitch down long ends
Turn down one short end 1/4" and iron, then turn over again about 1 1/4" to form a spot for the velcro
Install matching loop velcro on small tab

Cut the loop piece into two equal pieces. Fold each in half and pin to top edge of black fabric between the tabs and the side edges.

Add print fabric on top of the black with right sides together and sew through all layers on all four sides. Leave an opening at the top between the two tabs.

Trim corners and turn right sides out. Iron and top stitch - still leave the top area open!
Check the size of the short bottom edge between the topstiching. If it is about 9 3/4", cut some dowel about 9 1/2". If your sizing is different, test out the dowel and cut more as necessary.
After inserting dowel and sliding it to the bottom of the curtain, sew a seam just above the dowel to create a pocket for the dowel.
Topstich across the opening at the top. Add the hook velcro to the top edge and go through the tabs that are laying on the black backside.
 |
| Front |
 |
| Back |


It can be fun to customize the prints to the teacher or the classroom.
